Top Down Socks On a Double-Bed Machine
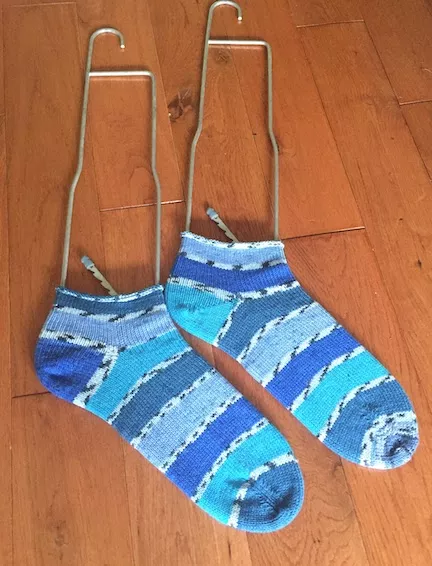
I love knitting socks by hand and I love it even more when I can make many socks in such a short period of time using my knitting machine. I decided to buy a ribber attachment for my Taitexma knitting machine because I thought having a ribber would be a great benefit for knitting things in round, especially socks. I love knitting socks using different brands of sock yarns. Heritage print yarn is one of my favorites. These ones are made out of wool-free sock yarn by Premier yarns
I found it a bit more difficult to manipulate shortrows work while having both beds attached to each other because of a tiny space under the machine. It's hard to get my hand in between this space and place the weighs at the right places causing stitches to tuck and tangle . I tried different ways making socks but the one that work best for me is to work from top down.
I successfully knitted an ankle length pair of socks for my husband. He wanted socks that he can wear around the house and that they don't feel tight around his ankles.
This is for a man with a shoe size of 9 and 1/2. I started out with 34 sts on each bed (total of 68 sts), using a half pitch setting cast on as same as 1x1 rib using a wasted yarn and knit in round for 12 rows. Then I changed to the main yarn and knitted 44 rows. I increased 1 stitch at each end of both beds to give it a more ease and knitted 2 rows.
Then I placed all of the stitches from the ribber on a waist yarn and lower the ribber bed to the lowest position. I then started working on short rows for a heel of a sock on the main bed machine only. I had more room to work since the ribber was at the lowest position and placing weighs was not a problem. I left 12 sts unworked at the center before reversing the short row. Once completed, I placed all stitches that were on hold back on to the ribber bed using a transfer tool. It took awhile to do the transfer but it worths it. Then I decreased a stitch at each end of both beds and knitted 2 rows.
I continue knitting for another 144 rows and then start a toe decrease. This time I didn't do shortrows for the toe but I decided to decrease at both edges as the following;
I decreased a stitch at each end using 2 prong transfer every other rows on each bed until I had 12 sts left. Then I cut the yarn and leave it long enough to do a Kitchener stitch for the toe. I knitted a few rows of wasted yarn and took it off the machine.
To finish the sock off, I had to pick up stitches at the top of the sock using smallest dpn needle I could find. Raveled off all the wasted yarn. Then I bound off using number 3 needle. Then I did a Kitchener seam for the toe part.
I'm not quite good at machine knitting yet. I'm still learning and practicing as time allows. This is more like a diary for me to keep track of what I've done and learned not meant to teach you in anyway. I'm glad if you find this interesting and helpful. I'm sorry if you find it confusing.
See you on my next post!
Update: 9/23/21
I just want to add a little note here on the finishing toe section. I don't have to place the 12 sts on the dpns. I can just leave the wasted yarn on and do the kitchen while holding the wasted yarn inside the sock. I can revel off the wasted yarn when I'm done.
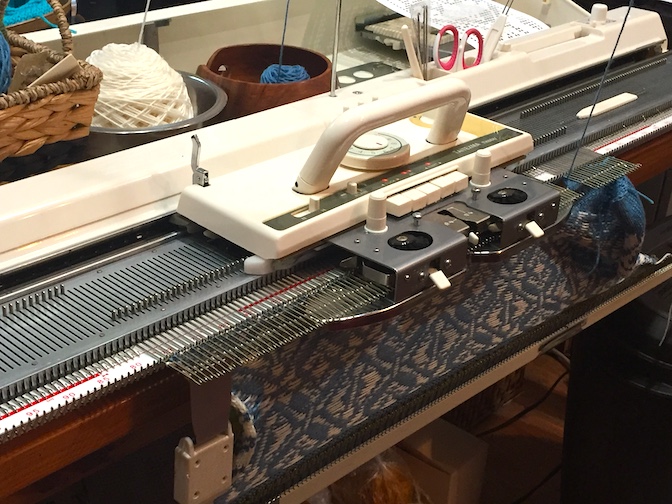
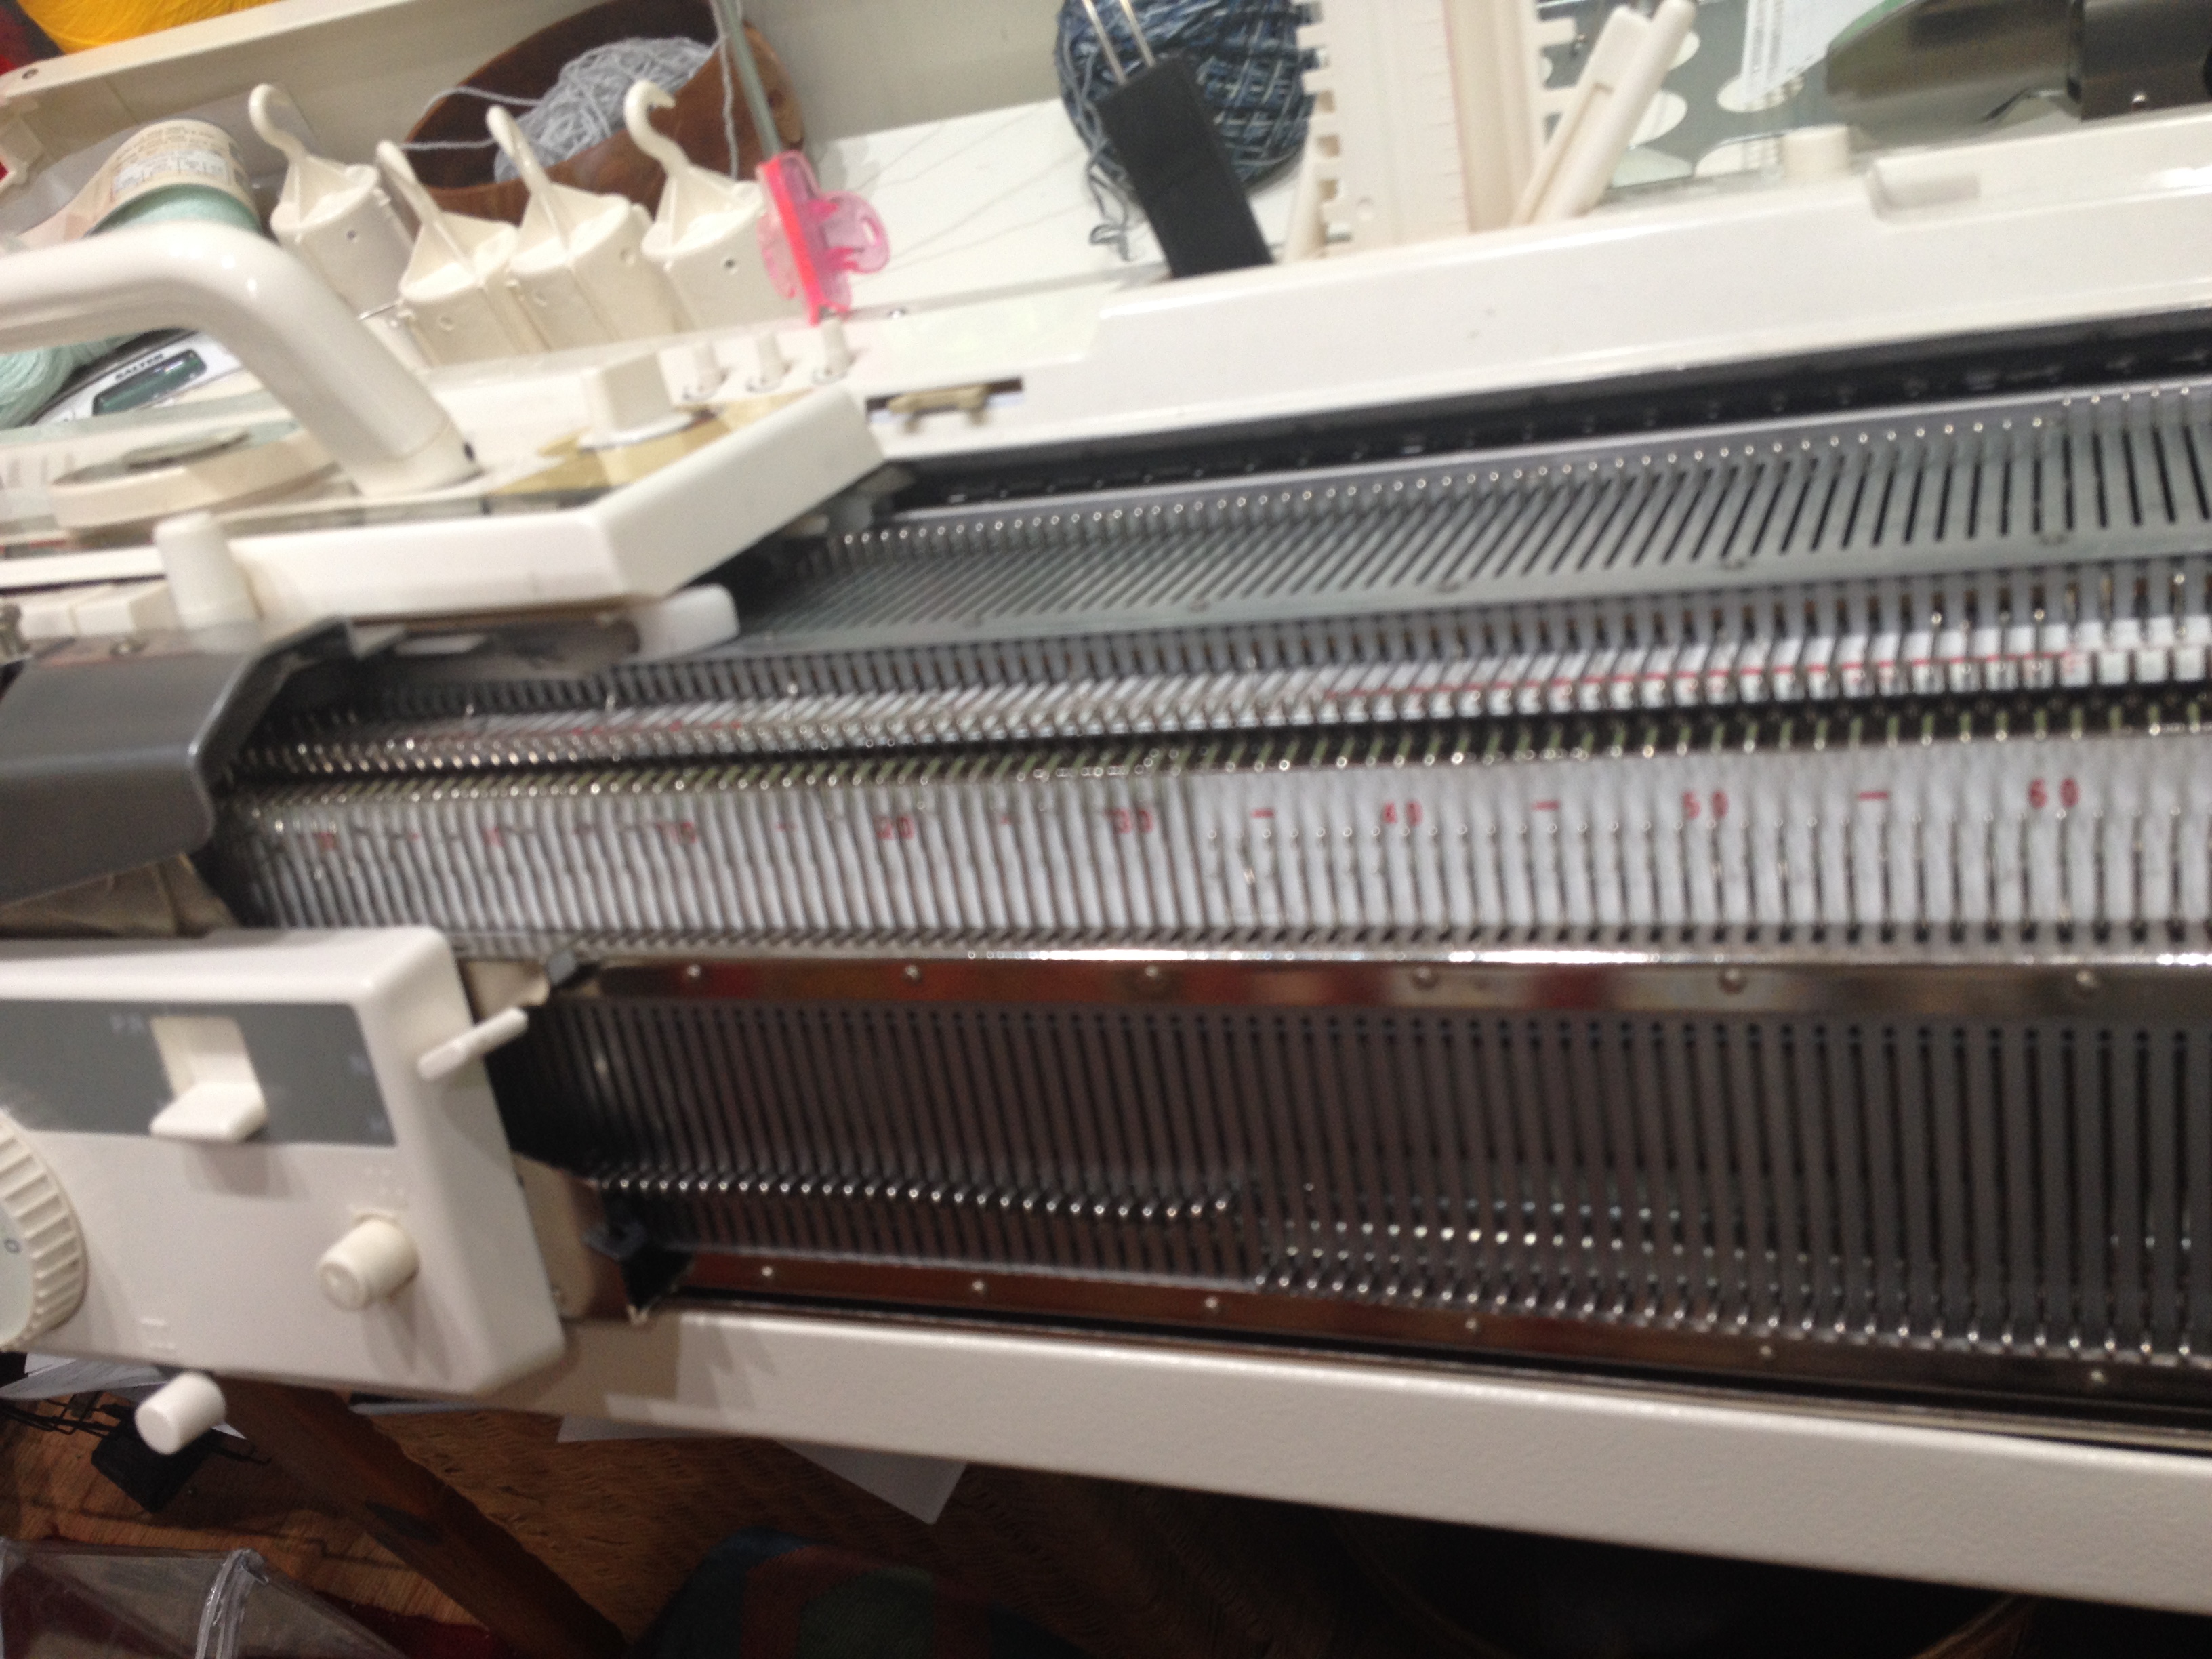 Taitexma knitting machine with ribber attachment
Update: This morning my husband put on these socks for the first time and we found that the bind off edges of both socks are too tight. I need to fix it by using a bigger needle to bind off.
Machine Knitted Sock Patterns You Might like
https://www.ravelry.com/patterns/library/beginners-machine-knit-sock
https://alessandrina.com/2019/12/09/sock-knitting-resources-and-ideas-for-machine-knitting/
http://www.needlesofsteel.org.uk/pat-socks.html
Back to Knitting Instruction Home page
