A Colorful Placemat in Ridged Eyelet Borders Pattern
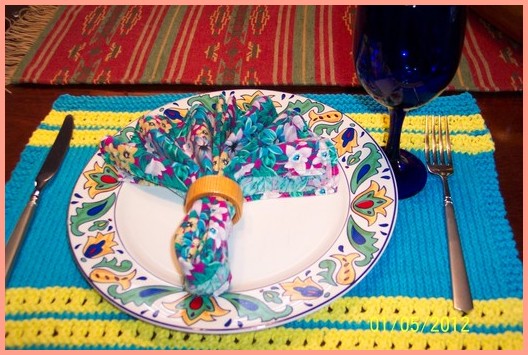
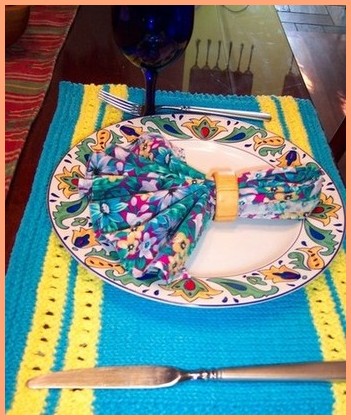
An easy to knit placemat pattern in stockinette stitch with vertical garter stitch borders. The contrasting color of the ridged eyelet borders give it a little personality. Choose any color you like to match any occasion. This colorful one is just perfect for a nice Spring picnic!
Picture 1: Ridged Eyelet Border Placemat
Easy Placemat Pattern For Beginners
Ridged Eyelet Border Placemat by Ratcha Chambers
Click Here
to Download this pattern in PDF file without ads
Picture 2: Ridged Eyelet Border Placemat Pattern
Finish Measurement: 12 ½ inches x 17 ½ inches
Yarn Gauge: 4 sts per inch on US # 8 (5mm) knitting needle
Materials:
- 100% worsted weight Handicrafter Cotton Yarn by Bernat
cotton yarn by Bernat. It will take about 50 gm of main color and little bit of contrasting color to make one placemat. The yarn I bought came in 400 gm/14 oz per ball and that enough for me to make 8 placemats easily. I'm working on my second placemat as we speak.
- 5mm knitting needle (US# 8)
Direction:
With MC (main color), cast on (CO) 75 stitches. K 4 rows ending with wrong side row.
Next row (right side): K.
Next row : K3, P to the last 3 sts, P3.
Cut MC yarn leaving 6 inches tail and begin Ridged Eyelet Border pattern row 1-6 below with CC (contrast color)
Ridged Eyelet Border pattern:
**Row 1 - 3: K.
Row 4: K 3, *P2tog, yrn (yarn round needle); rep from * to the last 4 sts, k 4.
Row 5 – 6 : K.
Cut CC yarn off leaving 6 inches tail.
Next row (right side): With MC, knit 1 row.
Next row: K3, P to the last 3 sts, K 3.
Change to CC color yarn and make another Ridged Eyelet Border pattern from row 1-6.***
Change to MC and work in stockinette sts (knit 1 row, purl 1 row) and keeping the first 3 sts and the last 3 sts in garter sts (knit every row). Continue until piece is measured 6.5 inches from the 2rd eyelet pattern. Ending with the wrong side row.
Next row (right side): Change to CC and work from ** to *** once more.
Next row : Change to MC and K one row.
Next row: K3, P to the last 3 sts, K3. Then K 5 more rows. Bind off loosely. With tapestry needle, weave all loose ends behind work. Block piece if needed.
********* the end of the pattern ****************
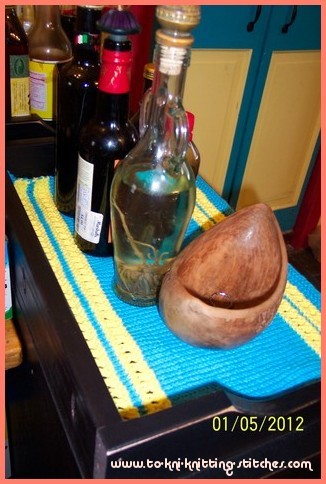
Picture 3: My beautiful Handmade Amish Trash Cabinet
Personal note: My inspiration of these bright yellow and deep turquoise colors came from my kitchen doors. I first knitted this placemat to put on top of my Amish trash cabinet. We have an overflow cooking sauce and spices and we need place to keep them. My husband requested a mat that would fit on top of the cabinet to help protect the wood from leaking sauce or something like that. I happened to have yarns that just match those doors perfectly! So, there you go. You can never tell what's going to happen with all those extra yarns you bought.
Thanks for visiting and come back soon!
to Download this pattern in PDF file without ads
Leave Placemat Pattern To Easy Knitting Pattern
Return To Knitting Instructions Home Page
